Is your Mac’s font collection looking a little cluttered? Are you having trouble finding the fonts you use most? Are you ready to remove all non-standard fonts and start fresh? If so, a simple trick can help you quickly clean up your macOS font collection.
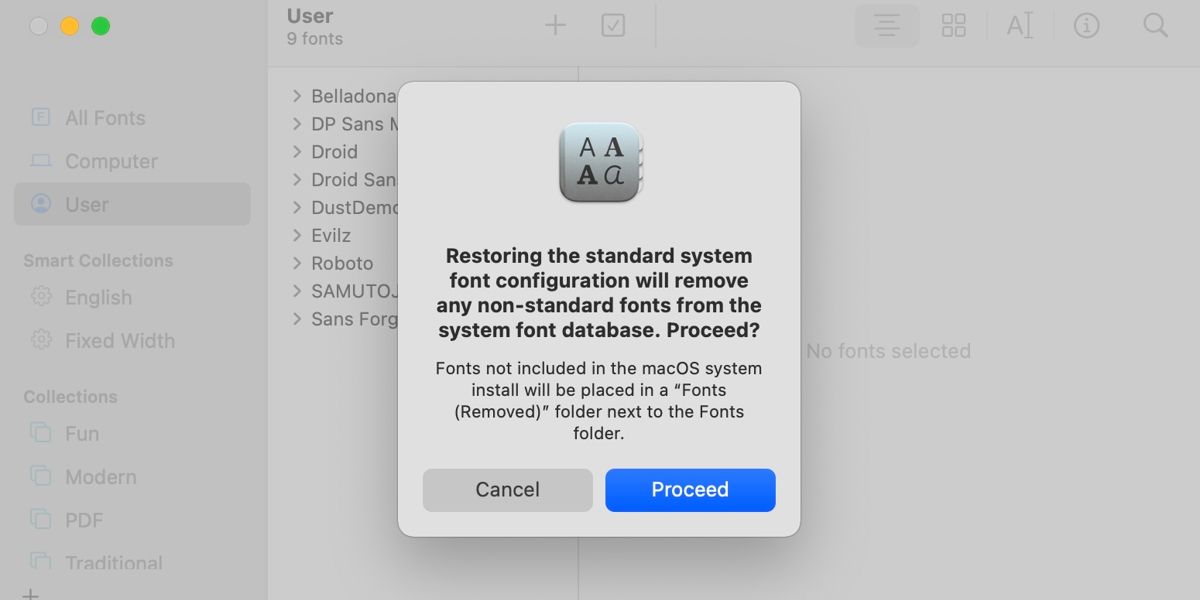
Within macOS’s Font Book app, you can use the Restore Standard Fonts feature to remove third-party entries and any other extras downloaded directly from Apple. A spare minute and a willing clicking finger is all you’ll need to complete the task. Let’s discuss how you can reset your font collection in macOS.
Restore Standard Fonts in macOS
Here’s how to reset your font collection on a Mac:
- Launch Font Book from your Applications folder or by doing a Spotlight search.
- Go to File > Restore Standard Fonts.
- Click Proceed.

That’s it. You’ll receive a confirmation when the process completes, and all third-party and downloaded fonts will vanish from the list. However, macOS doesn’t actually delete any non-standard items. If you need to restore a deleted entry, you can find the relocated files in a folder called Fonts (Removed) in your user library.
If you need to access your user library in macOS, you can do so by following these steps:
- Launch Finder.
- Click Go in the top menu bar.
- Hold the Option key, click the hidden Library entry when it appears, and release Option.
In the user library, you’ll see your Fonts folder, which contains your active third-party fonts. And if you’ve run the Restore Standard Fonts feature, you should also see a separate Fonts (Removed) folder. You can, if necessary, reinstall any items you want to add back to the system.
Keep a Clean Font Book to Boost Productivity
The need to restore all standard fonts in macOS will rarely arise. If, however, you’re a heavy font hoarder, you may have trouble finding the appropriate items, which can interrupt your workflow. In which case, clearing out your font collection and re-adding the essentials is an ideal way to declutter the list and boost productivity.
Read Next
About The Author


