Although several countries and organizations are trying to move to a paperless world to conserve environmental resources, there are still many cases where you need to print out physical documents. It’s often a good option to have a personal printer at home, allowing you to print at your convenience for these situations.
Printing used to be a hassle, but modern printers allow you to print wirelessly from anywhere in your home, making the process much easier. Even so, adding a printer to your Mac can sometimes be troublesome. Today we’ll cover how to add a printer to a Mac by using different methods.
How to Add a Wired Printer to Your Mac
Most new printer models work on a plug-and-play method—meaning that your Mac should automatically recognize and download the correct software for the printer when you connect it. This allows you to easily start printing without much hassle. However, sometimes this doesn’t work as intended, and you’ll need to add your printer manually.
Most printers can connect to your machine via USB Type B or Standard-B. USB Type B is closer to a square shape than Type A, which is a flatter rectangle and more commonly recognized as USB.
Often, a new printer will no longer include this cable, so you’ll need to purchase a USB Type B cable if you want to connect this way. While the printer’s port is USB Type-B, the port on your computer will either be USB Type A (if it’s older, or a desktop) or USB Type-C (if it’s a newer laptop). You’ll thus need a cable that has the correct end for your machine.
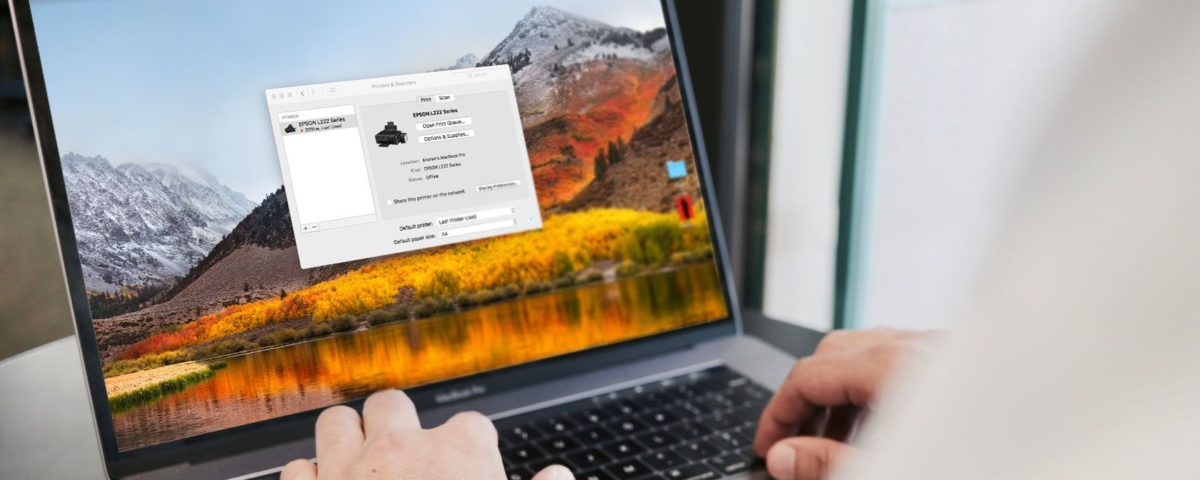
You may need to manually add your printer before installing the printer software. Usually, after installing the software, it should connect automatically, but you can check by going to System Preferences > Printers & Scanners.
Download the Correct Driver for Your Printer
If your Mac doesn’t automatically add your printer to the Printer & Scanners page in the System Preferences, you won’t be able to use it unless you set it up yourself. To do this, you’ll need to download and install the specific driver for the printer.
A driver is the piece of software that tells your Mac exactly what kind of printer you have. This gives your computer access to any unique features the printer might have, such as scanning or double-sided printing. Previously, most printers came with CDs containing the appropriate drivers. However, seeing as most laptops and Macs don’t come with CD drives anymore, most printer manufacturers have switched to online drivers.
Hence, most printers come with an instruction manual that gives you the links for downloading all the drivers you need. Even if your printer didn’t come with any such documentation or if you’ve misplaced it, you should be able to locate and download the printer driver from the manufacturer’s website.
To download a driver, simply visit the manufacturer’s website (HP, Canon, and so on), open up the Support section, and search for your printer model. The website should have the relevant driver or installation details for macOS, which you can use to install the printer driver on your Mac.
If you cannot find the proper driver for whatever reason, you might be able to use what’s called the Generic PPD (Postscript Printer Description). Keep in mind that even if this works, it may prevent you from using your printer’s unique features.
Once you have the driver installed, try connecting to your printer using the wired or wireless connection to see if it starts working properly.
How to Add a Wireless Printer to Your Mac
All the best Mac printers come with in-built Wi-Fi these days, allowing you to turn your printer on, enable its Wi-Fi capabilities, and then set it up directly from your Mac without ever touching a cable. It’s also possible that the software that came with your printer has an auto-scan that can automatically search and connect to your network.
If not, you can still add your printer manually and get it set up. To do this, go to System Preferences > Printers & Scanners and hit the Plus (+) button on the bottom-left side. It should open the Add window, which will display all the printers available on your local network via Bonjour. Just select your printer here; you can name it whatever you want.
The printer should show up here if the correct driver is installed, and if all the connections are set up correctly. You might see an option to Choose a Driver—you can either use Auto Select to have your computer scan for compatible software or choose one yourself. If your computer can’t find a compatible driver, it will try to add it with the Generic PPD.
The Generic PPD is a general Mac functionality that allows you to use the most basic functions of your printer—print a document. You most probably won’t be able to scan or use any other printer functions using the PPD software, which is why it is essential you try to use the correct driver instead.
Use the IP Address to Connect Wirelessly
You can also choose to connect to your printer using its IP address. You can usually find this by checking the network settings on your printer.
On your Mac, click the IP tab in the Add Printer window and type in the printer’s IP address. If it finds a match, it will let you fill out the rest of the settings and add it.
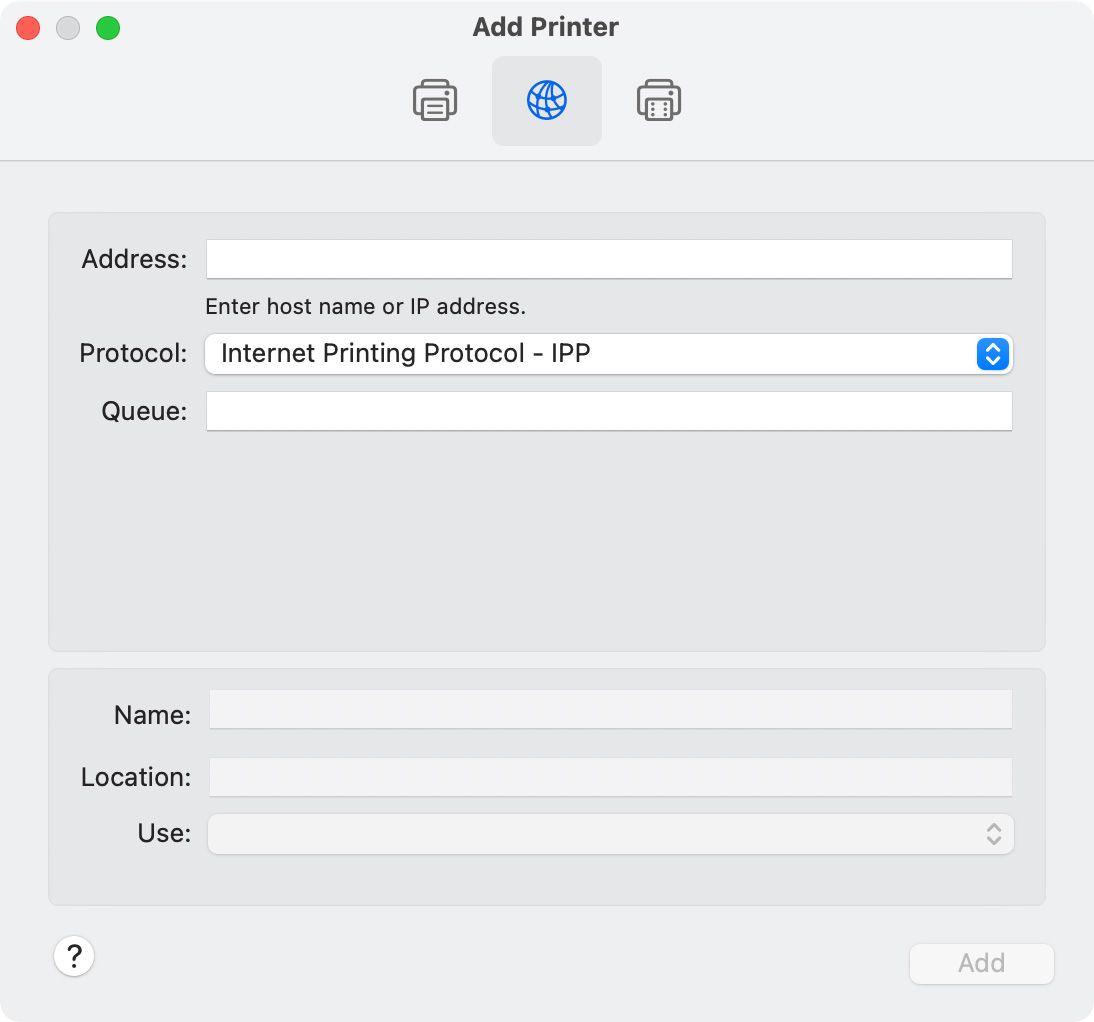
Once you’ve configured all the correct settings, click on Add and your printer should be added and ready to use.
How to Use Your Printer on Your Mac
Now that your printer is all set up, you’re ready to go! To print any document or photo, go to File > Print or hit Cmd + P. You should see your printer in the printer list, which you can then print from.
How to Check the Printer Queue
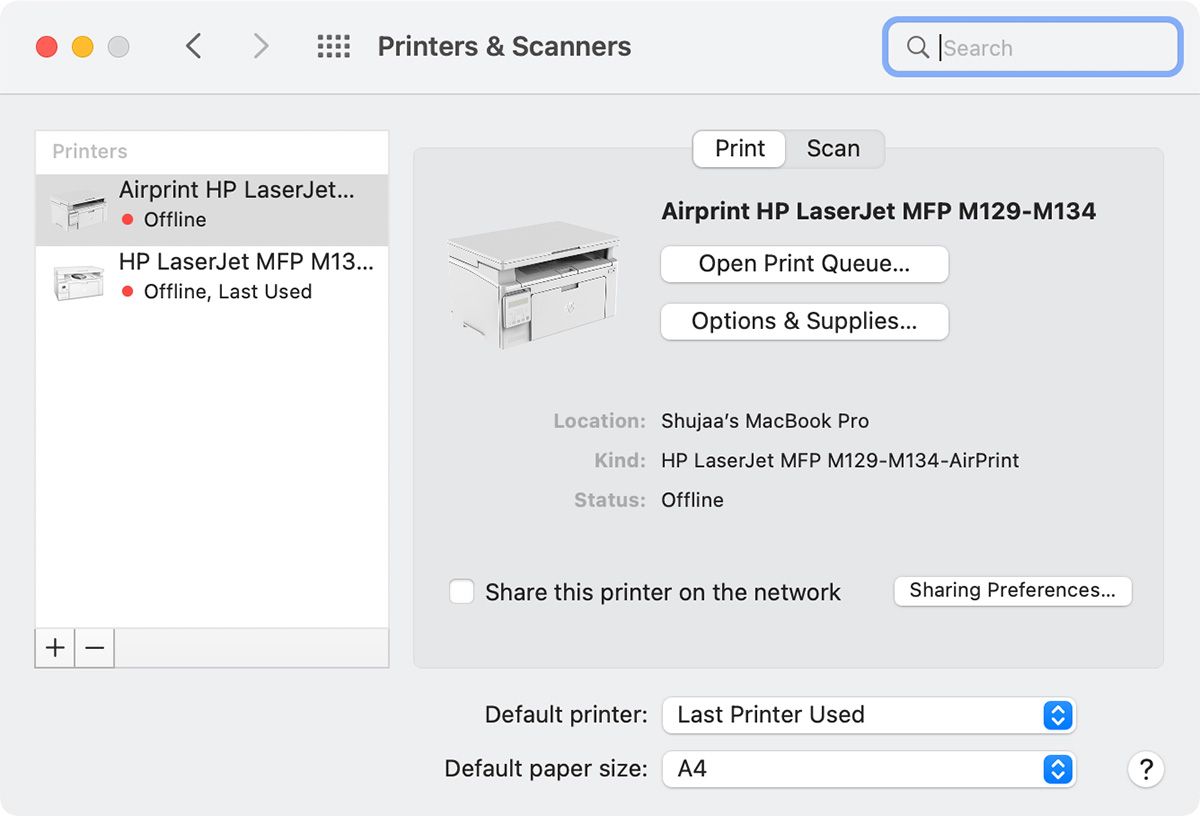
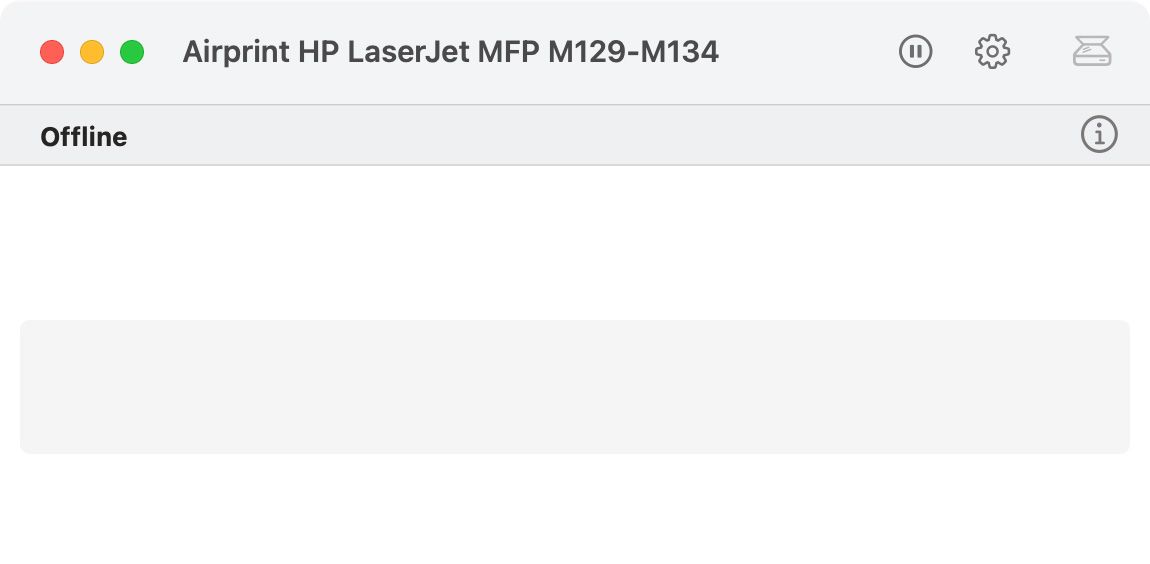
If you want to check the status of all your print jobs, you can do so from the Printer Queue. This can be done by double-clicking on a printer in Printers & Scanners or by clicking on the Printer Queue button. This is a good place to check if you try to print something but it’s not working. It can give you valuable information on what the hold-up is.
If you need to, you can even hit Pause to halt your printing jobs. Don’t forget to Resume them once you’re ready to print. Otherwise, you’ll be left wondering why your printer won’t print out anything.
Change Your Printer Settings
When you’re in the Printers & Scanners in System Preferences window, you can select your printer and choose Options & Supplies to get more information or adjust settings. It’s possible to change the name under General, or adjust the settings under Options.
Depending on what your printer is able to do, you can enable double-sided printing, choose the default paper tray, and more. Finally, under Supply Levels, you can see how much ink or toner is left in your printer’s cartridges. Some printers will even have the option to take you to the manufacturer’s website, so you can order more.
Back in Printers & Scanners, at the bottom, you can choose which printer to set as default, which is helpful if you use more than one. Below that, you can choose your default paper size (US Letter is the most common). Scan documents by selecting Open Scanner from the Scan tab.
You can also choose to share a printer over your network. A common scenario for this is when your printer is connected to your machine via USB, but you have another computer on the same network that needs to use it. Essentially, this option allows your printer to utilize your Mac’s Wi-Fi to make it available for other computers on your network.
Use Your Printer Easily on Your Mac
Now you know how to add a printer to your Mac and take advantage of its features. Remember that no matter what printer you have, you should try to use the software from the manufacturer. Whether you work at home or in a small office, use your newfound knowledge to take advantage of all the features your printer offers on a Mac.
We hope you like the items we recommend and discuss! MUO has affiliate
and sponsored partnerships, so we receive a share of the revenue from some of your purchases. This
won’t affect the price you pay and helps us offer the best product recommendations.
Read Next
About The Author


